
The watts-link and trailing arm rear suspension in the first-gen SA (78-80) and FB (81-85) Mazda RX-7 is notorious for”binding” at the extremes – full extension and compression of the rear solid axle. In these situations the watts link and trailing arm bushings will be compressed and torqued to their limit, as they are solidly clamped to their mounting points.
By securely de-tensioning these mounting points, we can allow the bushings to act as a pivot joint, with significantly smoother operation throughout their range of motion. This creates a flatter suspension curve, rather than it ramping up as soon as the bushings engage.
Regardless of your application, casual driving, aggressive road, or especially track and racing, you can gain significantly increased articulation from your rear suspension from this inexpensive, at-home tuning technique.
Thanks go to Carl Perez (Rx7Carl) for his PBandJ Racing write-up for the source material – you’re a legend my friend, brap on.
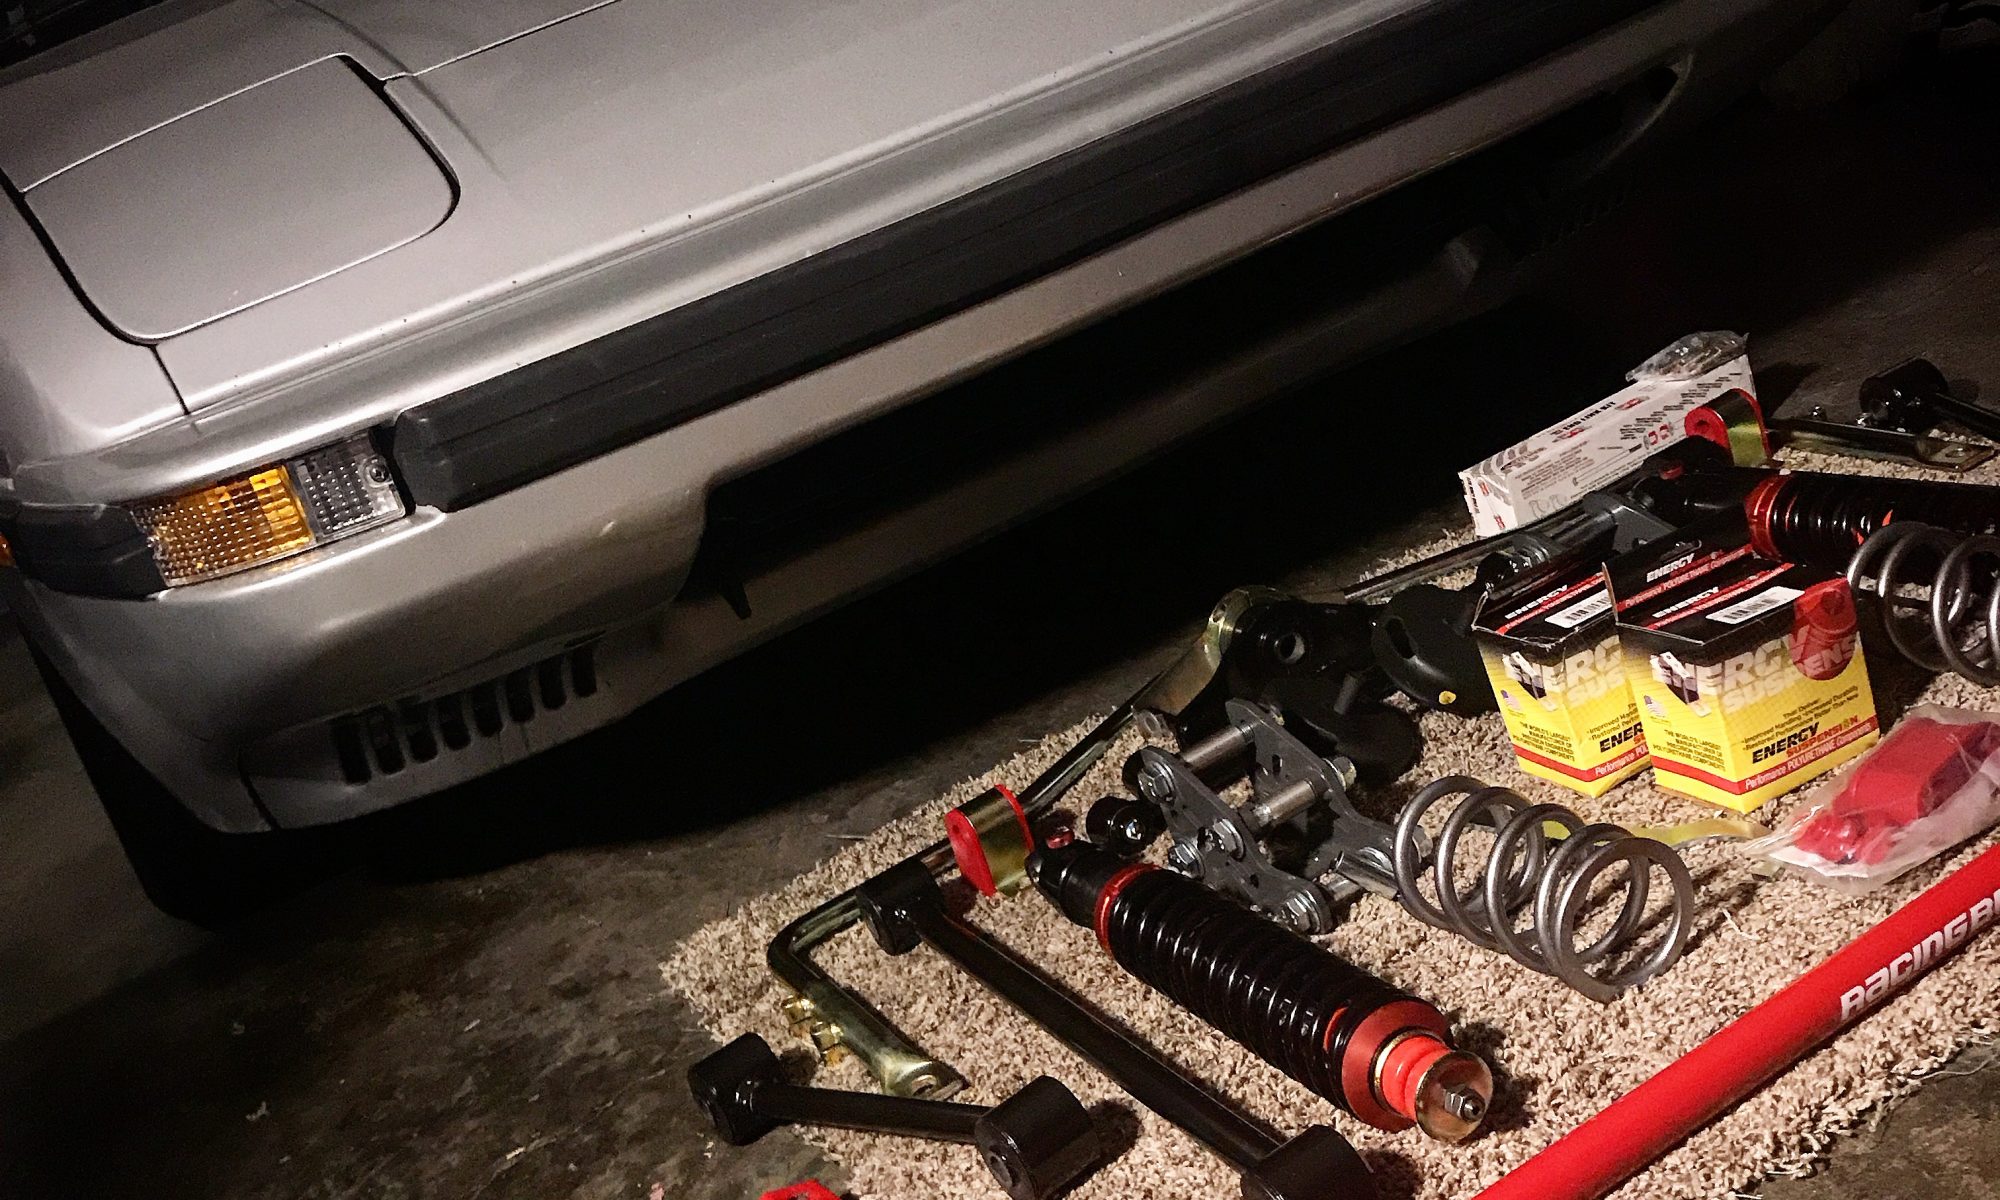
Required materials
Remove watts link
Raise the car by jacking up from the differential. Put jack stands under the forward mount of the rear trailing arms. Leave the jack stand supporting the differential, this will make removing and installing rear suspension components much easier. (See Factory service manual section 13-15 – Watts link and 13-17 – Upper & lower links)
Remove the watts link. Check and clean the bolts, bolt holes and bushings. Mazda was kind enough to weld tabs on the body mounts to prevent bolt rotation. Verify these are intact and functional.
Lubricate the shanks on the axle stub and center section.
Free-pivoting watts link
Put the rods back on and use the nylock nuts to secure it. Carefully tighten the nuts until all side play is removed, but still allowing the rod to pivot freely on the studs. THIS more than anything is the key to this mod.
How this works
The original design by Mazda had the center sleeve of the bushings firmly clamped, and any movement of the rod/link had to come from the rubber bushing twisting. By using nylock nuts to create a secure fitment but not clamping down on the rubber bushing the sleeve/bolt combo now acts as if it were a bearing.
This is why it is critical to get the nuts correctly tightened. Too tight and your back to where you started. Too loose and you’ll know it when you drive the car for the first time. The slop will cause the car to be uncontrollable. It needs to be snug enough to remove all end clearance, but free enough to pivot.
Re-install watts link
The anti-rotation tabs for the watts link bolts need to be functional, otherwise the nuts can work their way loose and the bolts WILL start to saw through the bracket, ovaling out the holes. If you are unsure about their integrity then you’ll need to secure the bolts from rotating. (Suggestion: A tack weld or 2 on the bolt head to the bracket should work, although this makes disassembly tough in the future.)
As an added safety, there’s enough threads left to put the old nuts back on with some loctite and snug them against the nylocks to lock them in place.
Upper & lower links / trailing arms
Repeat this same nylock procedure for the upper and lower links (aka trailing arms). In similar fashion, this allows them to rotate freely rather than flexing the bushing.
However, there is still a flaw in the OEM trailing arm design that causes binding at the extreme: they are not parallel, so when flexed they will want to twist laterally. We can address this issue by softening the upper link bushings.
Modifying upper link bushings
Since the upper links will still want to twist when the suspension rolls (because they are not parallel), we need to soften the rubber bushings so they can deflect and twist easier, reducing binding. This is accomplished by drilling holes around the periphery.
It’s important to modify the bushing equally so you don’t have an asymmetrical resistance to roll. You can make a template or measure and mark an identical pattern directly onto the bushings.
Using a 1/8 (approx) drill bit, drill the holes through the bushings. A drill press is preferred as it’s easier to get the holes straight, although if you are very careful with a hand drill it should be ok. Use a slow drill speed and a sharp bit, as you want to cut through the rubber, not burn through it.
Re-install and enjoy your new suspension. It will feel different now. You may want to work at rebalancing the front and rear roll rates depending on your spring/shock package.
Cheers!
This article is a resurrection/adaptation of PBandJ Racing’s
“Rear suspension mod.”
Can I just say how much I appreciate you digging this up and reposting it on your SUPER CLEAN website? Nice job, sir. And, thanks.
are there any pictures to go with this write up?
There will be – it’s on the to-do list! I’ll be going through and updating the photos when I go through and perform this modification on Selene. Stay Tuned.