
Broken sunroof knob: 40 years of plastic-on-plastic finally gives out

0
0

The OEM sunroof was never great to begin with. It rattles, it barely stays sealed, and — as it turns out — it hides the worst plastic-on-plastic internal gearing mechanism that could possibly have been invented. I hope whoever engineered this part got a demotion, or at least learned to do better, because it has always sucked. Mine finally broke after 40 years.

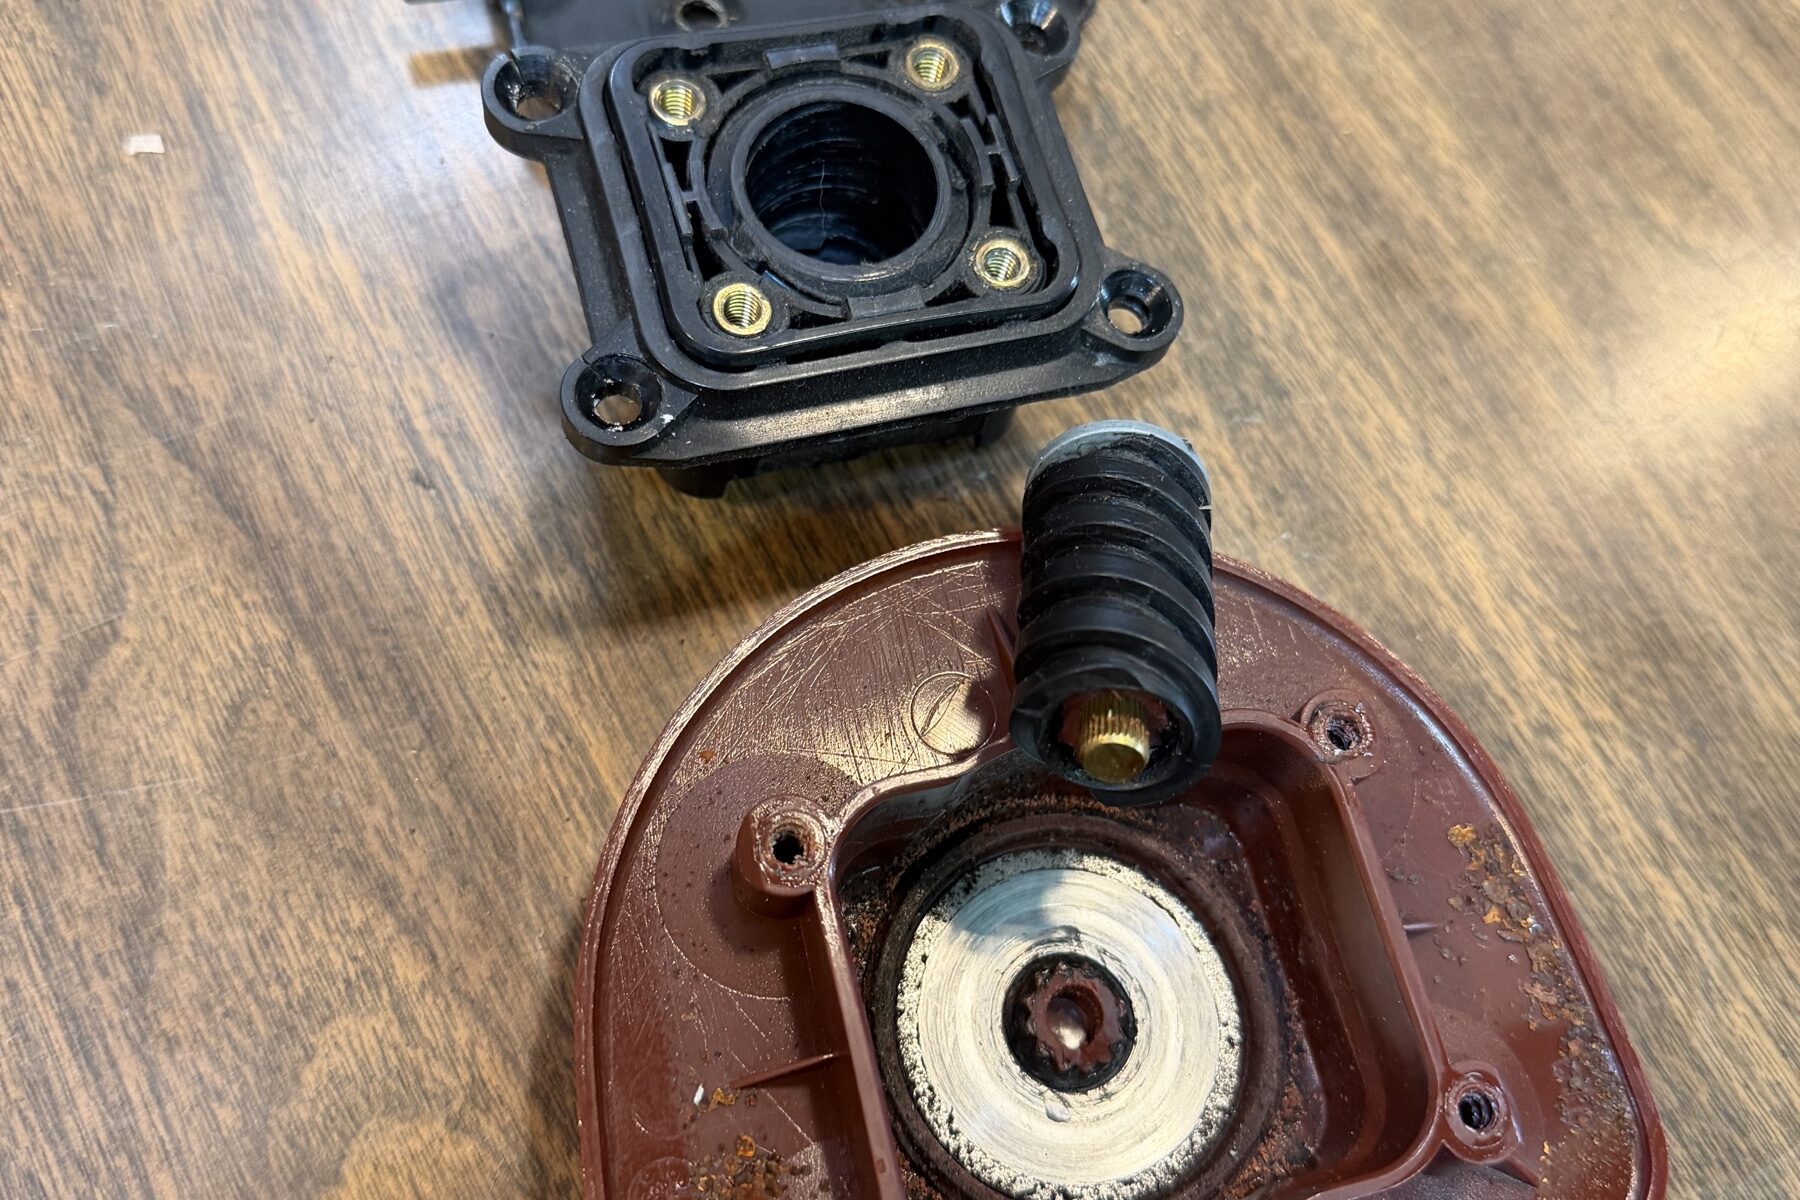
The broken sunroof knob assembly, disassembled on the bench The crime scene. Mounting chassis up top, spinner knob below, worm gear pulled out of what’s left of its seat.

Shouts to Mikey’s rotary in Battleground, WA, who came through with a 9 p.m. replacement the night before a road trip. That’s the kind of parts run you don’t forget.

What actually breaks

Inside the mechanism there’s a center column: a plastic spline that sits inside a plastic worm gear. That spline seats into a plastic receiver on the spinner knob — the part you turn from inside the cabin. The receiver in the knob is what broke on mine.

Worm gear with the stripped receiver material stuck to its core The worm gear’s core, wearing the remains of the knob’s receiver like a trophy. That red plastic used to be the part that transfers all the torque.

I thought about repairing it, but the way this thing fails, there’s no saving it. The receiver is what takes every bit of torque you put into the knob, and once it’s stripped, the knob just pulls right off the spline the first time you spin it. A replacement part is what’s in order.

Replacement unit next to the disassembled broken one Replacement unit assembled on the left; the old one in pieces on the right, as found.

The swap

The replacement is straightforward:

  1. Take off the top seat — four screws.
  2. From the top, remove the four screws holding the knob to the chassis. The whole unit drops right out.
  3. Reinstall in reverse.

Roof rail opening with the unit removed Unit out, hole in the roof rail exposed. The square gasket frame seals the chassis to the panel — don’t lose it.

One thing to get right: when the top seat goes back on, orient it so the protruding corner notch is on the driver’s rear side. (Eagle eyes will notice mine is backwards in these photos — do as I say, not as I shot.)

New unit installed in the roof rail New unit seated and screwed down from the top.

Interior view of the spinner knob through the headliner The business end: the spinner knob back in its home in the headliner, latches ready.

If you can’t find a replacement that color-matches your interior, don’t worry — SEM makes color-match interior dye for any color interior you might have. (Regular readers know I’ve been down the SEM road before; done right, it holds.)

Bonus: killing the rattle

While you’re in there: I like to put felt pads between the glass and the lifter. It mitigates about 50% of the rattle — which, on this sunroof, is saying something.

Sheet of adhesive felt pads next to the top seat Hardware-store felt pads. The cheapest NVH fix on the whole car.

Three felt pads applied to the top seat Three pads on the lifter seat, waiting to meet the glass.

Glass resting on the padded lifter Glass back on, pads sandwiched where the rattle used to live.

Selene, rear three-quarter view in the garage Back together and road-trip ready.

Catch you on that next lap. Brap on.

The new fit: Fine Tune Alignment & OEM specs

Mazda RX-7 GSL-SE With Toyota Supra MK2 wheels and Accelera Alpha tires
0
0

Selene is about to get some new shoes – I have finally found some 185/55r14 tires that are decent enough by Accelera. They get horrid wet-weather reviews, so we’ll see, however they should provide the fitment I’ve been chasing for years. But first! We must tame this beast.

She’s a sassy. Difficult to control. I know that she should be way more well behaved than she is, so I’m diving deep in to suspension geometry to figure it out.

Despite her sassiness, the Stance coilover setup is actually handling quite well once it loads up and digs in. I can tell that once we tame the sassiness – she might just have the perfect, functional stance.

I’m contemplating this new tool I found – Gyralign – we’ll see what the shop has to say when i get the new tires installed. If they can’t get it dialed, I’ll give this tool a shot.

The condition is that the car fights you to start steering, but once she starts steering, she curves into the direction she’s going and you have to fight to return to center. The road pulls her all over the place, and she’s very unpredictable and unstable.


So far, this looks like it has to do with toe as well as the caster. If the alignment numbers check out – then I need to verify all steering pieces and bushings have no wear or damage.

My thinking is the toe is too far out right now, so I’m fighting the road to get into the corner. Once I’m get into the corner, the toe is all the way into the corner and then it just wants to keep going that way, having to fight to get it back to center. So I think it needs less toe. We’ll see what the alignment numbers say


Problems and factors I’m dealing with

1. Steering wheel play. Check:

  1. Fitting conditions of the rear center link ball joints
  2. Fitting condition of the center link ball joints
  3. looseness of the idle arm bushes
  4. looseness of the wheel bearing
  5. Backlash between the sector shaft and ball nut

2. Steering way too stiff.

  • Align Toe-in
  • Loosening steering gear adjuster
  • Lubricate steering gear (replace caps with breathers if this fixes it, OR loop the lines)

3. Steering pulls side to side, wanders around the road.

  • Check steering ball joints
  • Double check wheel bearings
  • Toe-in

4. Hard to start a turn, then it DIVES in and its hard to counter-steer

  • check linkages and joints for damage
  • preload of steering gear
  • Toe-in

5. Steering wheel does not return to center.


Toe

I think the toe is too far out. I’m fighting to get the car to start turning, and then once it turns, I’m fighting to get it to return to center.

  • Too much toe-out results in steering wheel not returning to center
  • Car feels unstable or twitchy, especially at speed


Caster

  • Loose or wandering steering; the car may not track straight and require constant correction.
  • Difficulty returning to center after a turn.
  • Reduced stability at higher speeds.


Factory Service manual – 10A-3 alignment specs


Steering wheel free play: 5 ~ 20 mm (0.2 ~0.8 in)

Maximum steering:

  • inside:
    • 39° 40’ ∓ 2°
  • outside:
    • 32° 14’ ∓ 2°

Wheel alignment:

  • Toe-in:
    • 3 ∓ 3mm (0.12 ∓ 0.12 in)
  • Camber angle:
    • 1° 00 ∓ 30’
    • 0° 35’ ∓ 30’
  • Caster angle
    • Right-hand side: 4° 10’ ∓ 30’
    • Left-hand side: 3° 40’ ∓ 30’
  • King-pin inclined angle
    • 10° 44’
    • 11° 20’
  • Trail 20 mm (0.79 in)

First update

7/22/2025

I backed off the steering box adjuster, and it drives infinitely better. I had it way over tightened. However, there’s still more play than I would like in the steering box, so I’d like to figure out a way to seek out a newer steering box. They are no longer available, so this could be an impossible quest.

I checked the wheel bearings for play by grabbing the wheels on the top and bottom and trying to rock it torquely. There’s a little bit of play on both sides, so I definitely need to tighten that up.

Now I’m looking at my tie rod ends, and I think that replacing those bushings is going to be the next best course of action. Failing that, if I need to replace the control arms entirely, I have several options, but none of them are cheap, including Techno Toy Tuning as well as Atkins Rotary Adjustable Control Arms.

DIY custom brake lines

Custom brake lines - FB RX-7

0

0

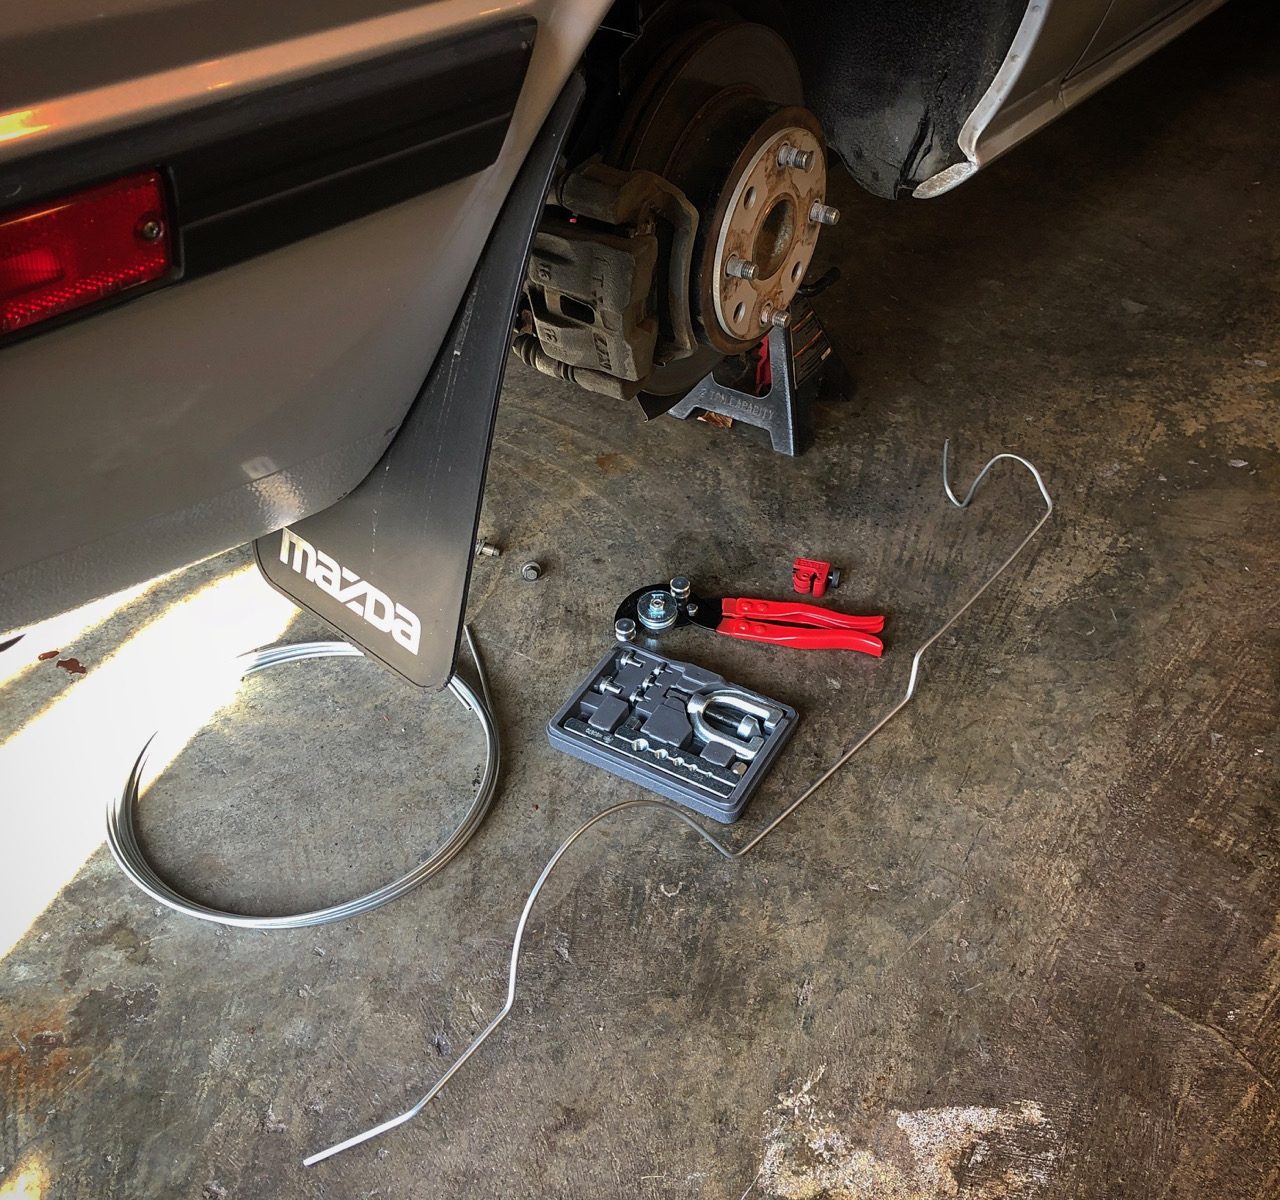
There’s a lot of information out there about making DIY brake hard lines, and having gone through a few walk-throughs, youtube videos, and a trip to O’Reilly’s I felt confident to dive in.

After spending the day mocking up my new hard line with baling wire, bending the steel hard line, overnighting the 10×1.0 fittings from Amazon that nobody carries in-stock (even though its THE most common import brake fitting size), flaring the ends and hooking it up, I was only met with disappointment when my fittings didn’t even pretend to create a sealed line.

Instead I got to watch as my brake system drained all its fluid, now making it so I need to flush the entire system in addition to creating a new hard line.

I hope that my notes can save you the extra time and expense it will take to learn the hard way!

Continue reading “DIY custom brake lines”

Watts link & trailing arm modification

11

0

The watts-link and trailing arm rear suspension in the first-gen SA (78-80) and FB (81-85) Mazda RX-7 is notorious for”binding” at the extremes – full extension and compression of the rear solid axle. In these situations the watts link and trailing arm bushings will be compressed and torqued to their limit, as they are solidly clamped to their mounting points.

By securely de-tensioning these mounting points, we can allow the bushings to act as a pivot joint, with significantly smoother operation throughout their range of motion. This creates a flatter suspension curve, rather than it ramping up as soon as the bushings engage.

Regardless of your application, casual driving, aggressive road, or especially track and racing, you can gain significantly increased articulation from your rear suspension from this inexpensive, at-home tuning technique.

Thanks go to Carl Perez (Rx7Carl) for his PBandJ Racing write-up for the source material – you’re a legend my friend, brap on. Continue reading “Watts link & trailing arm modification”

keep it old school

0

0

Join us on Sunday at the Old School Reunion – the Pacific Northwest’s most epic showing of vintage imports. We’ll be posting photos during the event, but don’t sit on this one, show up! Weather should be pleasantly mild, which will make for some great photos.

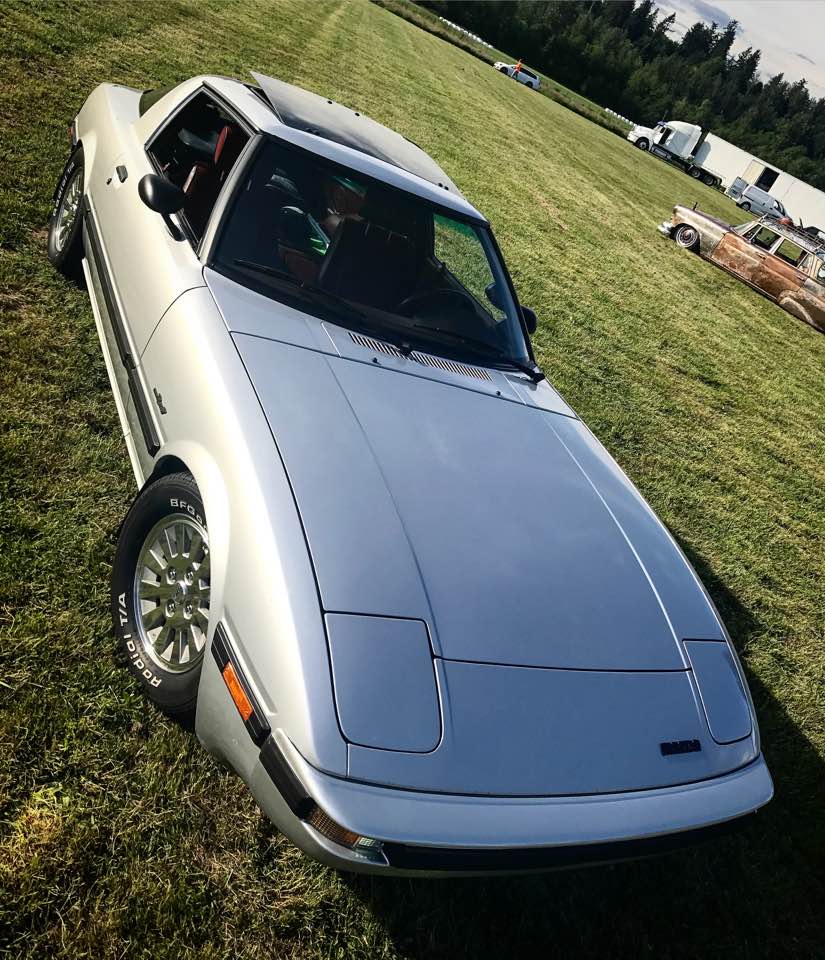
I’m working double duty on Selene (1984 RX-7) right now to finish up my wire tuck (and a million other small projects), which should result in some great how-to’s and tutorials. But for now, here’s a little sneak peek…

Tickets available online for cheaper or $5 more at the gate. See you there crew!

Mission

4

0

Welcome to Retrotuned, a resource dedicated to those passionate about vintage automotive aesthetic, artful engineering, and the love of all things revving.

We provide a time-proof, always-updated repository and resource of the most recent and accurate information pertaining to the build, maintenance, customization and tuning of vintage and retro-themed automotive endeavors.

A shortcut past “I read on the interweb…” straight to real-world experience, knowledge, and resources for tuning and modification.

We provide an ongoing, indexed, and interactive audio / video / photo journal of our personal automotive endeavors.

Thanks for stopping by, catch you on that next lap!

~Geoff Jensen, founder