
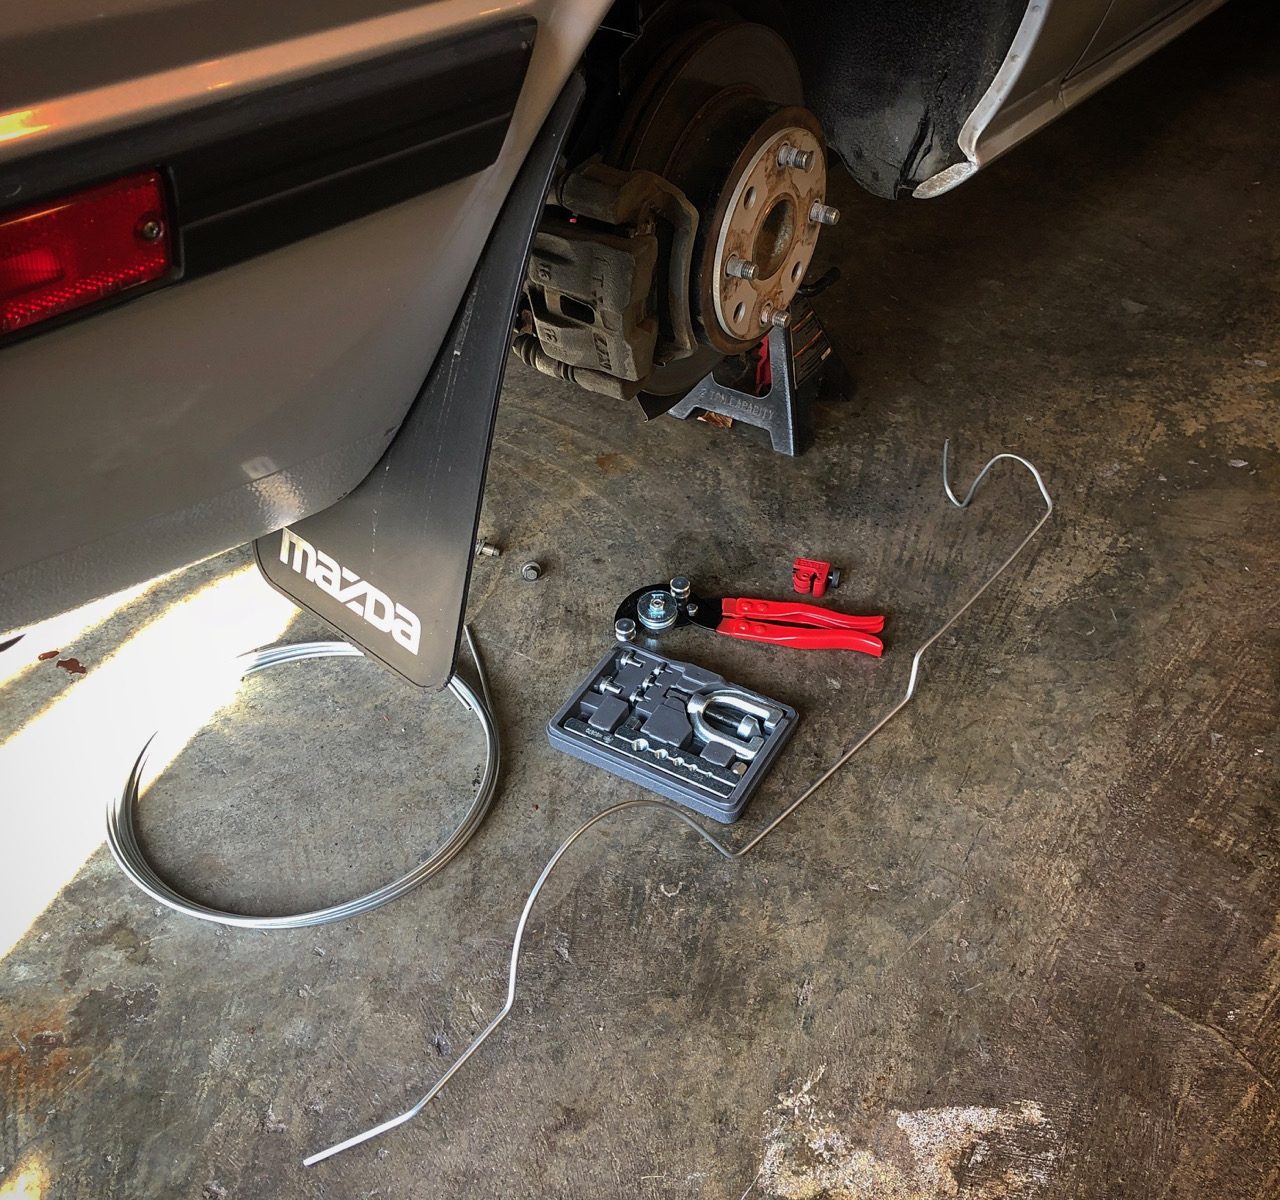
There’s a lot of information out there about making DIY brake hard lines, and having gone through a few walk-throughs, youtube videos, and a trip to O’Reilly’s I felt confident to dive in.
After spending the day mocking up my new hard line with baling wire, bending the steel hard line, overnighting the 10×1.0 fittings from Amazon that nobody carries in-stock (even though its THE most common import brake fitting size), flaring the ends and hooking it up, I was only met with disappointment when my fittings didn’t even pretend to create a sealed line.
Instead I got to watch as my brake system drained all its fluid, now making it so I need to flush the entire system in addition to creating a new hard line.
I hope that my notes can save you the extra time and expense it will take to learn the hard way!
What went wrong?
After witnessing my brilliant work disintegrate into a puddle of shattered hopes and dreams – aka brake fluid – I changed my google search from “How to create custom brake lines” to “custom brake line fittings not sealing”. Whole new set of (incredibly relevant and important) information comes up.
I found a thread at JalopyJournal.com that contained a plethora of valuable information…
TLDR:
- Don’t use cheap tools & generic steel brake tubing.
- Don’t use cheap tools & generic steel brake tubing!
- Use brake fluid throughout the process as cutting & tool lube
- Don’t compress the double flare fully, only just snug & folded. This leaves a built-in compression-fitment to seal during installation.
DIY brake lines done right
What you will need:
- BluePoint Double Flaring Tube Kit – TF5A (by Snap-On)
- Nickel/Copper (NiCopp) 3/16″ tubing
- 10×1.0 invert flare fittings for 3/16″ tubing (check sizing for your application)
- Tube cutting tool
- Tube bending tool
- Flare nut wrench (10mm for Mazda RX-7)
- Deburring tool / pocket knife / file
Tube flaring kit
A cheap tube flaring kit – the $20 holler you get at your local parts store – is made of cheap material and poor machining. This means unreliable tube clamps, un-even compression angles, and soft metal compression cones that will deform easily. Each of these contributes to a poor flaring that is the primary cause for leaky fittings.
Brake tubing
The generic steel lines that you get from your local auto-parts store is likely junk – the key indicator is a seam running up the side of the line. This means the tubing is cold rolled steel – not a seamless tube. This seam will create an un-even sidewall thickness and stiffness, resulting in an un-even flare.
NiCopp (Nickel Copper) tubing is rust-proof and much more malleable than steel tubing. Key benefits include:
- Easier flaring
- Easier tube bending & routing
- Rust proof, great for under-chassis runs subject to the elements
Tube cutting tool
Sharpness is a key factor in creating a clean and precise flat tube cut. Make sure to get a quality, sharp cutting tool.
Tube bending tool
There are many styles of tube bending tools, and I have no specific advice as to what to look for here other than bending radius and degree. Keep in mind that ANY round surface can act as a bending radius. For instance – to create the bend around the differential I used a small bucket. For tight 180-degree bends I used a small spray can. For precise, angled bends I used a generic tube bending tool from O’Reilly’s.
NiCopp (Nickel Copper) tubing will also allow for significantly easier bending that stiffer steel tubing, some even advertise that bending tools are not required.
Flare nut wrench
The flare nut wrench grabs all sides of the fitting, but allows you to slip over the brake line. It helps prevent rounding out your fittings, however is not always useable – as in the case of the Y-splitter on the rear axle of the FB RX-7. Here there is no clearance underneath the fitting, requiring you to use a standard 10mm wrench. You just need to be sure to create a perfect flaring to seal the line so that you don’t need to over-torque your fittings to create a seal.
A flare fitting should only be tightened to about 15-20 ft-lbs, which is NOT full wrist-tight, but just before. Beyond that you risk rounding out the fitting, which will only lead to difficulties should you ever need to service the line. Do yourself a favor – do it right, do it once.
Deburring tool / file
This will help clean up your cuts and flares to create a solid sealing surface. Essential to preventing leaks.
How-to
Beyond my notes above, here’s the resources you need to create custom lines:
- Here’s how you can replace your rusty brake lines (Jalopnik)
- Double flaring brake line seal woes (Jalopy Journal)